Deploy a new service
We want make the process of deploying a new service as easy as possible. You can do it in three ways:
- Deploy a new service using ExyData Web Console
- Deploy a new service using the CLI
- Deploy a new service using the API
Deploy a new service using Web Console
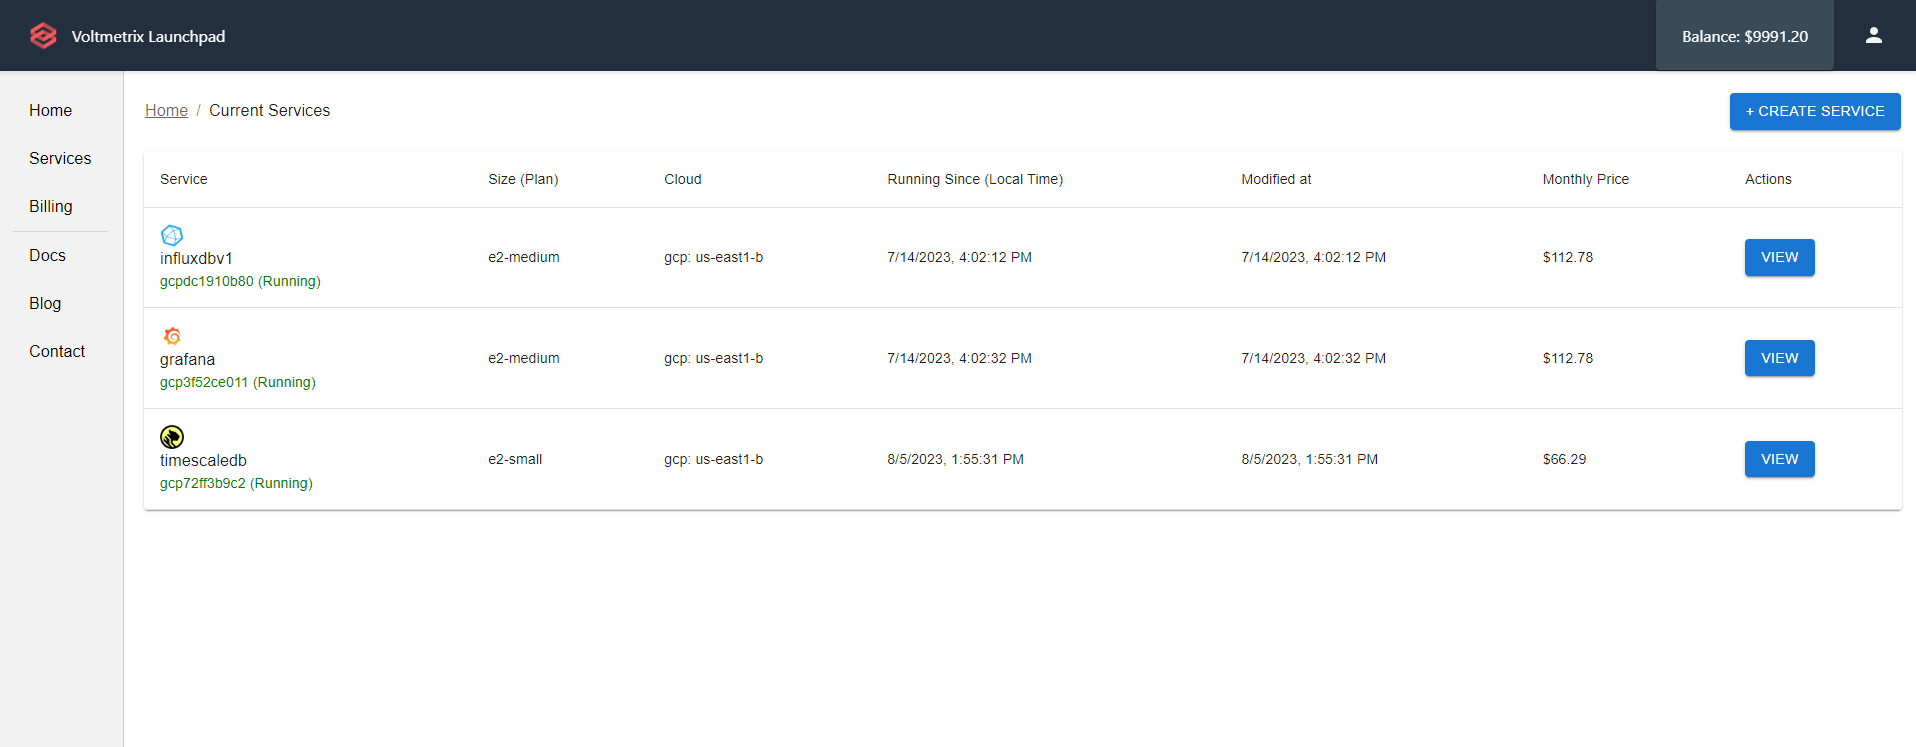
You can deploy a new service using ExyData Web Console. To do this, you need to login to https://launchpad.exy.com and click on the "+ Create Service" button.
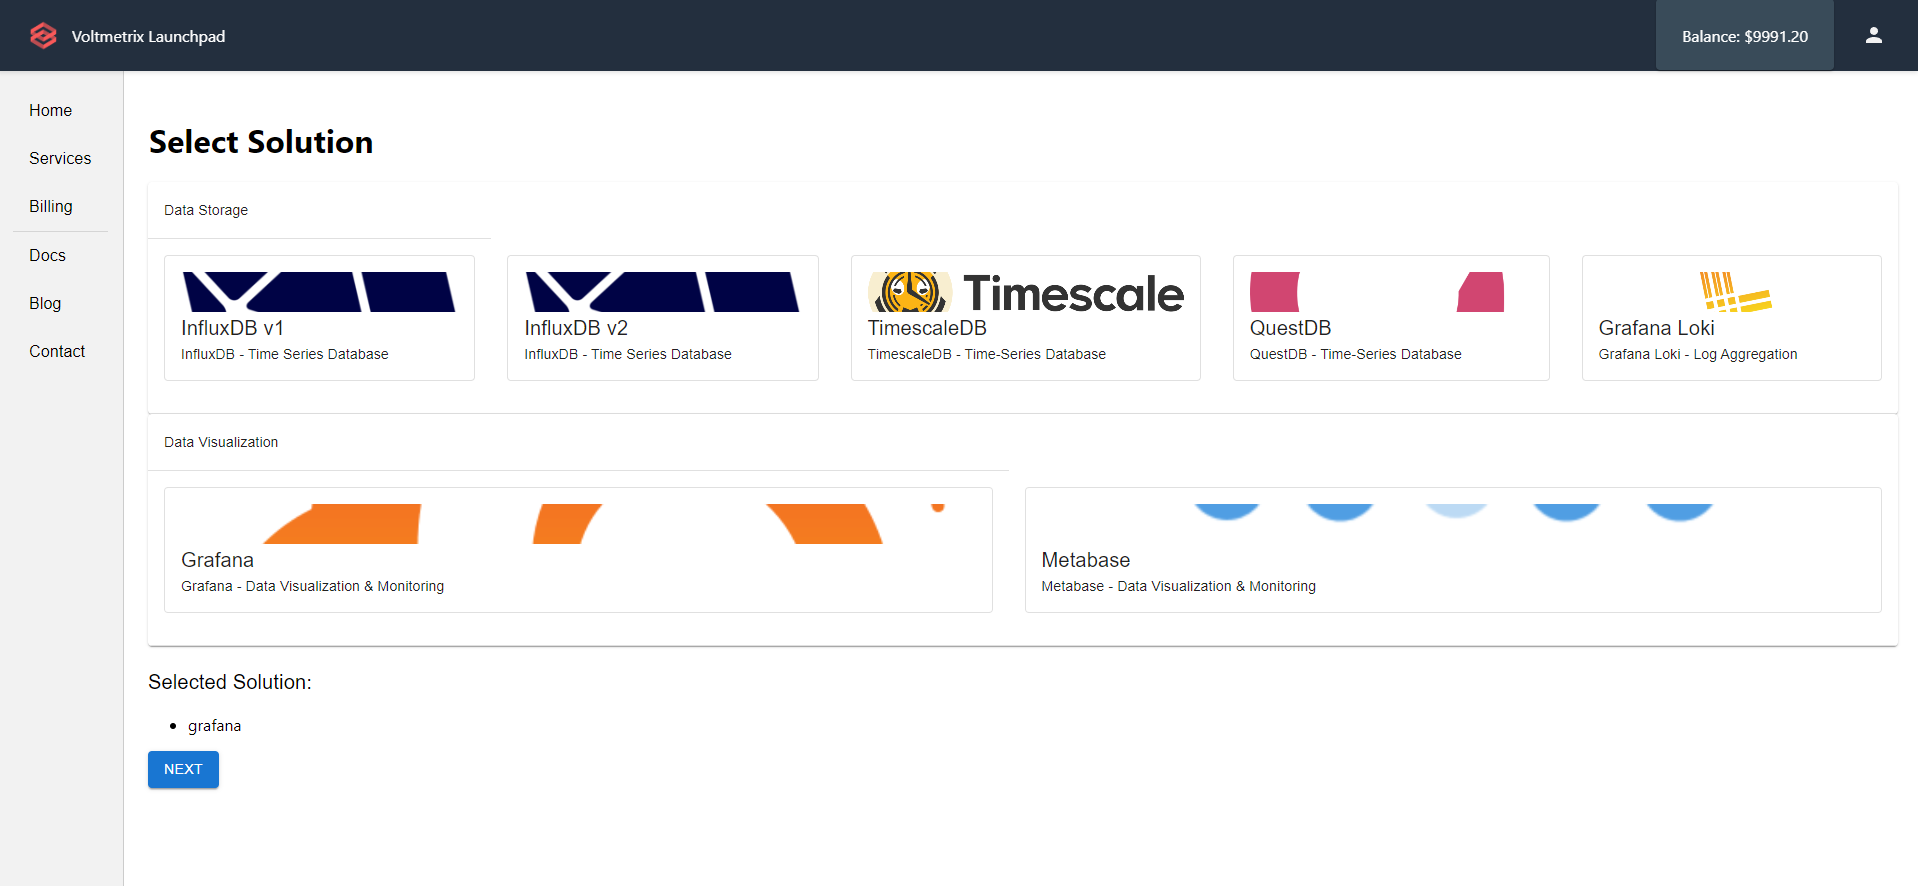
Then, you need to select the solution that you want to deploy.
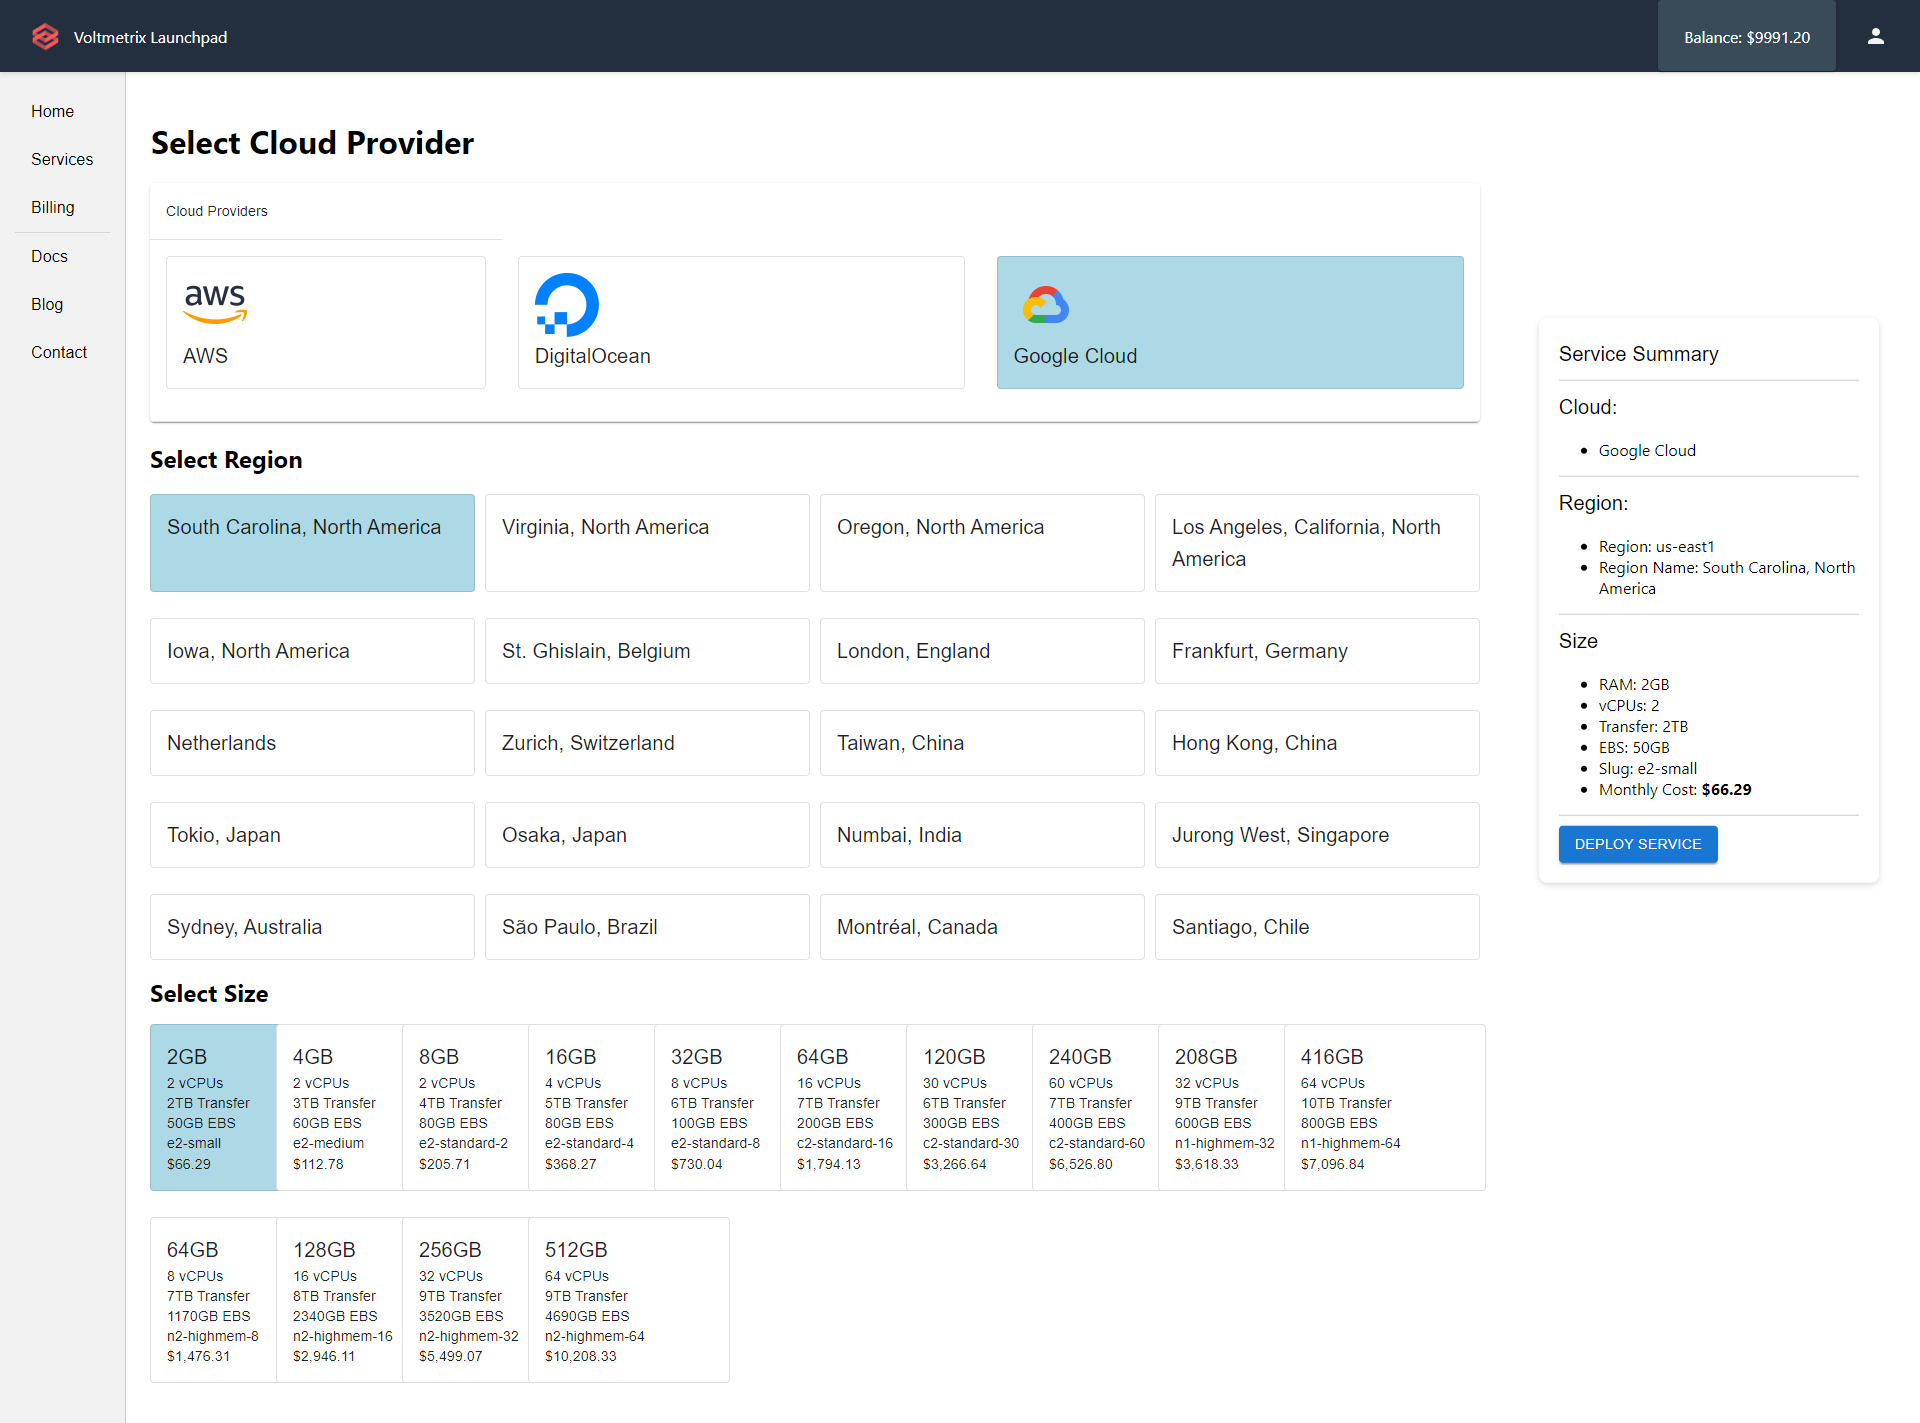
Finally, you need to select the Cloud Provider, size of your service and the region where your service will be deployed.
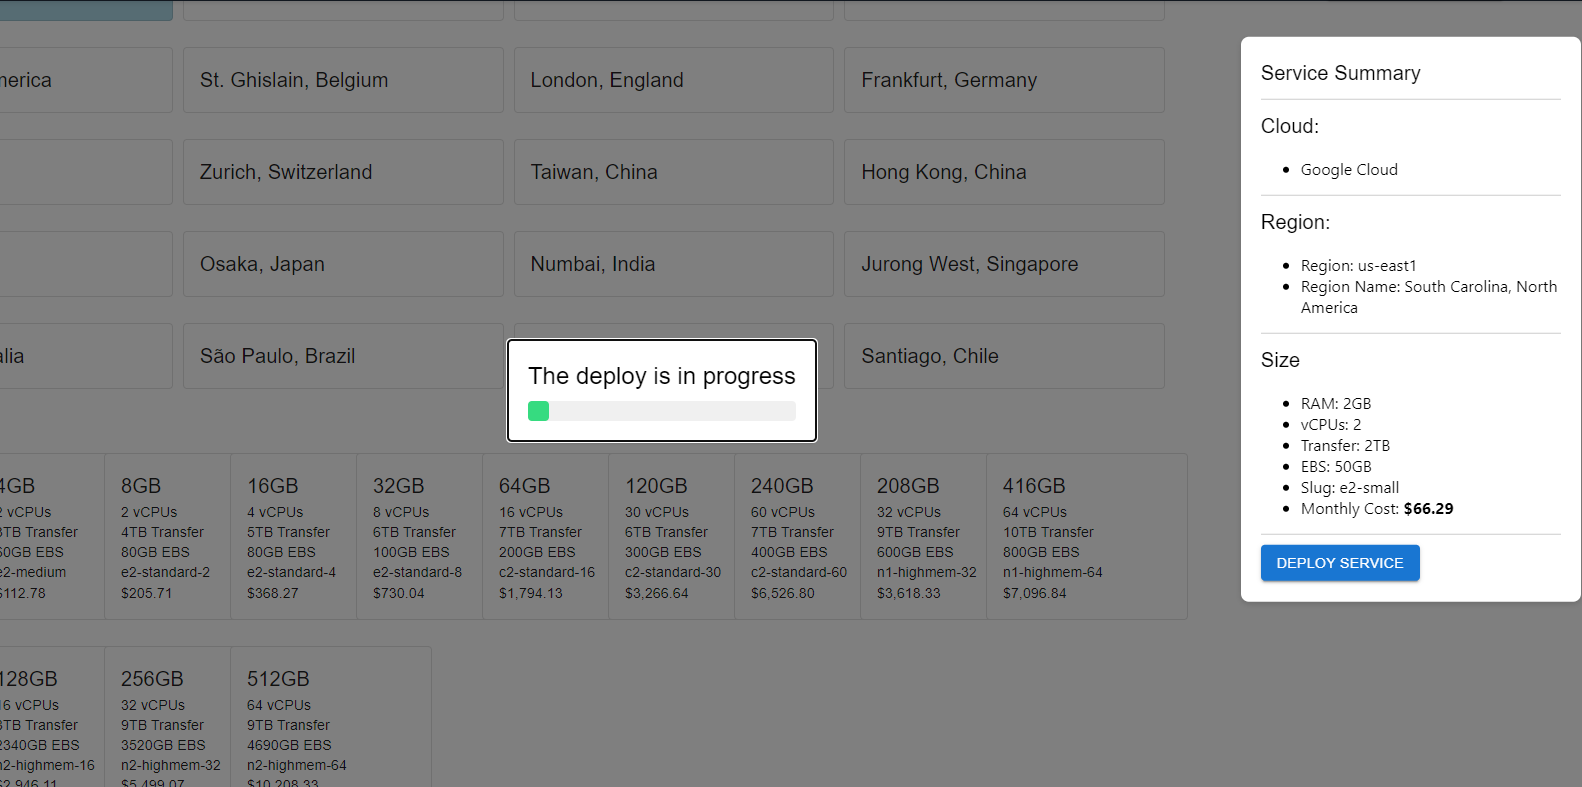
Once you click on the "Deploy Service" button, your service will be deployed and you will see the following screen:
If everything is ok, you will see the following screen:
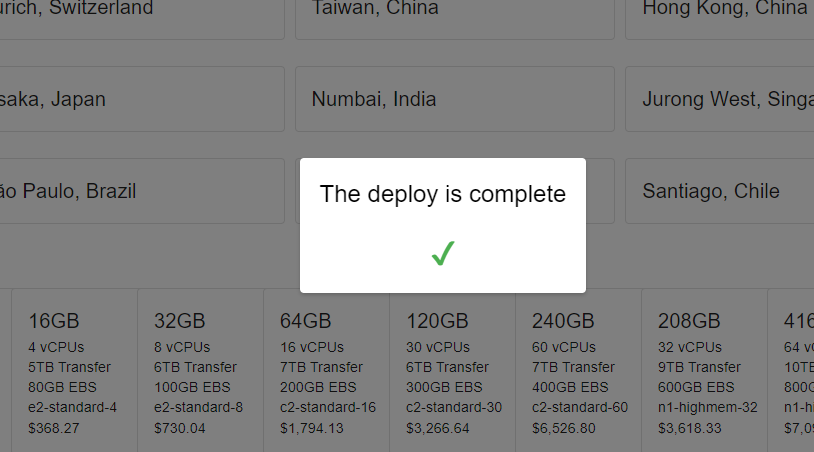
Click outside of the modal to close it will return you to the services list. You will see your new service in the list.
Deploy a new service using the CLI
Download the CLI
Linux
curl -L https://get.exydata.com/linux/exy -o exy
Make executable
chmod +x exy
Windows
curl https://get.exydata.com/windows/exy.exe -o exy.exe
Deploy a new service
To deploy a new service, you need to run the following command:
exy deploy \
--cloud aws \
--database influxdbv2 \
--org_id your-org_id \
--token your-awesome-token \
--plan professional \
--region us-east-1
The response will be a JSON object with the following properties:
{
  "cloud": "aws",
  "resource_id": "5c9f5b5c",
  "database": "influxdbv2",
  "org_id": "your-org_id",
  "plan": "professional",
  "region": "us-east-1",
  "created_at": "2019-03-27T12:34:56.789Z",
  "port": "port",
  "url": "https://5c9f5b5c.customers.exy.io:8086",
  "username": "admin",
  "password": "changeme"
}
Deploy a new service using the API
To create a new service, you need to send a POST request to the following endpoint:
https://api.exydata.com/v1/services/deploy
The request body should be a JSON object with the following properties:
cloud: The cloud provider. You can see the available cloud providers in the Cloud Platform Regions page.database: The database type. You can see the available databases in the Database and Add-ons Availability page.org_id: The ID of your accounttoken: The API key of your accountplan: The plan of the database. See our pricing plans for a list of available sizes.region: The region where your service will be deployed. You can see the available regions in the pricing page
The response will be a JSON object with the following properties:
cloud: The cloud providerresource_id: The ID of your serviceorg_id: The ID of your accountdatabase: The service typeplan: The plan of the service deployedregion: The region where your service is deployedcreated_at: The date and time when your service was created
Example
curl -X POST \
https://api.exydata.com/v1/services \
  -H 'Content-Type: application/json' \
  -d '{
    "cloud": "aws",
    "database": "influxdbv2",
    "org_id": "your-org_id",
    "token": "your-awesome-token",
    "plan": "professional",
    "region": "us-east-1"
    }'
If everything is ok, you will receive a response like this:
{
  "cloud": "aws",
  "resource_id": "5c9f5b5c",
  "database": "influxdbv2",
  "plan": "professional",
  "region": "us-east-1",
  "created_at": "2019-03-27T12:34:56.789Z",
  "port": "port",
  "url": "https://5c9f5b5c.customers.exy.io:8086",
  "username": "admin",
  "password": "changeme"
}
Now, you're ready to start to send data to your service. For doing that you will need to know the url, port, username and password of your service. You can see those values in the response of the request.
Congratulations: You have deployed your first service in the ExyData platform! We can't wait to see what you will build. If you have any questions, please contact us through our website.